I once paid a contractor to hang a single shelf. It took him twenty minutes, and the bill made me wince. Worse, a few weeks later I watched a YouTube video and realized I could have done it in half an hour for the price of a few anchors and a bit of patience.
That’s when I stopped treating carpentry as a mysterious trade and started treating it as a toolbox of repeatable skills. The essential carpentry projects for homeowners aren’t about building furniture worthy of a magazine. They’re about handling the small, constant jobs a house throws at you: the sticking door, the cracked trim, the soft spot in the windowsill.
This guide walks through the projects worth learning first, the tools that make them possible, the mistakes I made so you don’t have to, and the honest limits of DIY.
What Counts as Essential Carpentry for Homeowners?
Carpentry sounds intimidating, but most household work falls into a few predictable buckets. Once you see the pattern, a lot of the fear disappears.
Rough vs. finish carpentry
Rough carpentry is the structural stuff: framing walls, building decks, setting joists. It needs to be strong and square, but it doesn’t have to be pretty.
Finish carpentry is the visible work: trim, baseboards, door hanging, shelving, cabinet installs. Here, accuracy and neatness matter most.
For homeowners, finish carpentry gives the biggest return on learning time. Most of the “essential” projects below fall there, with a few light rough-carpentry jobs like deck repairs and simple builds thrown in.
The five skills behind every project
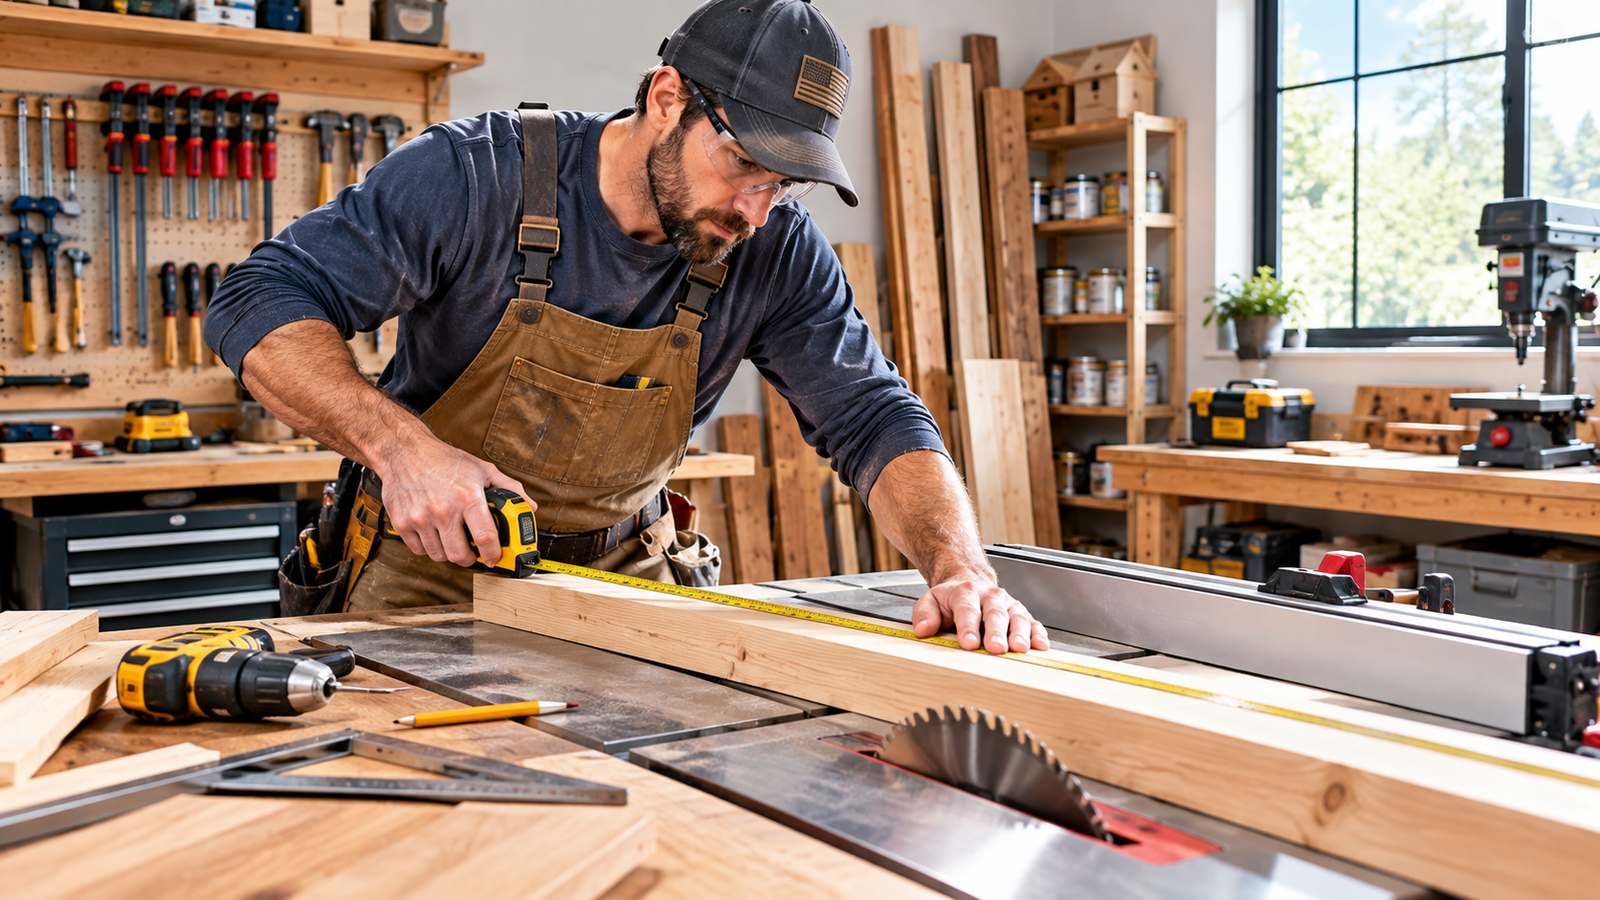
I teach friends a simple loop I call Measure, Mark, Cut, Fasten, Finish. Nearly every project uses it.
- Measure accurately, and recheck.
- Mark clearly with a sharp pencil, not a blunt carpenter’s crayon.
- Cut on the waste side of your line.
- Fasten with the right screw, nail, or glue for the material.
- Finish with sanding, filler, primer, and paint or stain.
If you can do those five things reliably, you can handle most of what’s in this article. Honestly, most beginners fail at step one and step two, not at the fancy parts.
[Internal Link: “Beginner tool kit: the 12 tools you actually need”]
Why Basic Carpentry Skills Matter
Homes are made of wood, and wood moves, swells, shrinks, and rots. Every house eventually needs hands that can fix it.
Small problems get expensive fast
Take a cracked piece of exterior trim. It looks like a cosmetic annoyance. But a gap lets water in, water softens the wood behind it, and soon you’re replacing a section of framing or sheathing instead of a ten-dollar board.
In my experience, the most expensive carpentry repairs I’ve seen almost always started as small, ignored ones. A tube of caulk and a bit of primer in year one beats a rebuild in year five.
Contractors cost more than you think for small jobs
Many tradespeople set minimum charges or have waitlists, which means a ten-minute fix can still carry a significant bill or a long delay. That’s not a criticism; their time is valuable. It’s just a reason to handle the easy jobs yourself and save professionals for work that truly needs them.
Safety and value
Loose stair railings, wobbly deck boards, and rotted steps are real injury risks. Learning to inspect and repair them isn’t just money-saving, it’s protective.
And well-kept trim, doors, and wood details quietly tell buyers a home has been looked after. That impression is hard to quantify but easy to feel during a showing.
[Internal Link: “Home maintenance checklist: what to inspect each season”]
Essential Carpentry Projects Step by Step
Here are the projects I’d learn, roughly in order of difficulty. Each one builds skills that transfer to the next.
Project 1: Learn to measure, cut, and drive fasteners cleanly
Before any project, practice on scrap. Cut a few boards square. Drive screws without stripping heads. Sink nails without denting the wood.
What you need: tape measure, speed square, pencil, handsaw or circular saw, drill/driver, safety glasses, hearing protection.
Time: an afternoon.
Why it matters: this is the skill that makes every later project look professional. One thing to remember is that lumber sold as a “2×4” actually measures about 1.5 by 3.5 inches. That mismatch between nominal and actual sizes trips up almost everyone once.
Project 2: Fix a sticking or misaligned door
This is probably the most common carpentry annoyance in any house. And it’s usually simpler than you’d expect.
Steps:
- Check the hinges first. Tighten loose screws. If a screw spins freely, fill the hole with a few wooden toothpicks and wood glue, then re-drive the screw.
- Find the rubbing spot. Slide a sheet of paper around the gap, or look for shiny, worn spots on the door edge.
- Sand or plane lightly. Remove only what you need, a little at a time.
- Seal the bare wood. Any freshly exposed edge should get primer and paint to stop moisture swelling it again.
Doors often stick seasonally because wood absorbs humidity. If yours only binds in wet weather, a light trim plus sealing usually solves it for good.
Project 3: Install floating or bracket shelves
Shelves are the classic first project, and a good teacher about wall anchors.
Steps:
- Locate studs with a stud finder and mark them.
- Mark your level line using a long level, not your eyes.
- Pre-drill pilot holes for brackets.
- Use the right anchors if you can’t hit studs. Drywall alone won’t hold heavy loads.
- Fasten, level again, and load test before stacking books on it.
My personal rule: assume a shelf will hold more weight than you plan. Books are heavier than they look. Anchors rated well above your expected load are cheap insurance.
[Internal Link: “How to hang heavy items safely on drywall”]
Project 4: Install baseboards and basic trim
Trim is where beginners see the biggest visual payoff for the least cost.
Steps:
- Measure each wall and cut boards slightly long.
- Make inside corners with a coped joint where you can. One board runs square into the corner, and the next is cut to follow its profile. Coped joints hide gaps better than simple mitered inside corners, especially when walls aren’t perfectly square, which is nearly always.
- Use miters for outside corners.
- Nail into studs or the bottom plate, then set nail heads below the surface.
- Fill, caulk, and paint. The caulk line along the top edge is what makes trim look finished.
Don’t be discouraged if your first coped joint is ugly. It takes a few tries, and practicing on cheap scrap saves expensive trim.
Project 5: Repair wood rot on a sill, trim, or fascia
Rot repair is a skill that pays for itself quickly.
Steps:
- Probe the wood with a screwdriver. Soft, spongy wood is rotted; solid wood isn’t.
- Find and fix the water source first. If you skip this, the repair will fail.
- Remove all the rotted material back to solid wood.
- Choose a repair method: for small spots, a wood hardener plus epoxy filler works well. For larger damage, cut out the section and splice in new wood.
- Prime and paint thoroughly, including the cut edges.
Here’s an honest warning: if rot has reached structural framing, like sill plates, joists, or load-bearing posts, stop and bring in a professional or a structural inspector. That’s beyond a weekend repair.
Also, if your house is old, painted surfaces may contain lead. Take proper precautions or have it tested before sanding or scraping.
Project 6: Replace or repair deck boards and railings
Decks take a beating from weather. Replacing a few damaged boards is within reach of most beginners.
Steps:
- Inspect the framing underneath for soft or damaged joists.
- Remove the damaged boards by backing out the screws or nails.
- Match the replacement in thickness and species.
- Use corrosion-resistant fasteners. Treated lumber reacts with ordinary steel and corrodes it. Look for fasteners rated for it.
- Check railing posts by pushing on them. Anything that wobbles needs attention immediately.
Railings are a safety item, not a cosmetic one. Local codes often set specific height and strength requirements, so check before rebuilding rather than after.
Project 7: Build a simple workbench or garage storage
Building something from scratch locks the skills in. A workbench is perfect because it doesn’t need to look perfect, only to be sturdy and level.
Steps:
- Build a frame from standard framing lumber.
- Square every corner before fastening. Measure diagonals; if they match, the frame is square.
- Add a plywood or hardwood top.
- Add a lower shelf for tool storage.
I built my first bench from construction lumber over a weekend. It’s ugly, and I still use it almost every week. A good workbench makes every later project easier.
Project 8: Build a raised garden bed
This is a gentle introduction to outdoor building, and it’s forgiving.
Steps:
- Choose rot-resistant wood such as cedar, or another option appropriate for growing food.
- Cut four sides and screw them together at the corners, adding corner posts for strength.
- Level the ground, set the frame, and fill it with soil.
Avoid reclaimed wood treated with unknown preservatives if you’re growing vegetables. Stick with materials you know are safe for the purpose.
Project 9: Build a simple closet organizer or built-in shelving
This project combines almost everything: measuring, cutting, leveling, fastening, and finishing.
Steps:
- Plan the layout on paper, measuring wall-to-wall in multiple places, since walls aren’t straight.
- Cut plywood or boards to size.
- Secure vertical supports to studs.
- Add shelves on cleats or adjustable standards.
- Edge-band, sand, and paint.
If you can do this one well, you’ve graduated from beginner. The result also adds real day-to-day usability to a home.
Common Carpentry Mistakes (and How to Avoid Them)
I’ve made nearly all of these. Learn from my scrap pile.
Mistake 1: Not measuring twice (or at all)
“Measure twice, cut once” is a cliché because it’s true. I once cut an entire set of baseboards a quarter inch short because I measured from the wrong wall edge. That quarter inch cost me a Saturday and a lot of pride.
Mistake 2: Cutting on the wrong side of the line
The saw blade has thickness, called the kerf. Always cut on the waste side of your mark. If you cut on the line or the wrong side, your piece comes out too small.
Mistake 3: Skipping pilot holes
Driving screws near the end of a board without pre-drilling splits wood. A small pilot hole takes ten seconds and prevents ruined pieces.
Mistake 4: Using the wrong fastener
Drywall screws are brittle and shouldn’t be used where strength matters. Plain steel in treated lumber corrodes. Match the fastener to the job. When unsure, ask at the hardware store or check the manufacturer’s guidance.
Mistake 5: Ignoring the lumber itself
Boards warp, twist, and bow. Sight down each board before buying, and pick the straightest ones. Letting wood acclimate to your home’s conditions for a few days before use can also help prevent shrinking or gaps later.
Mistake 6: Skipping safety gear
Eye protection, hearing protection, and a dust mask aren’t optional. I’ve had a chip fly into my eye exactly once, and that was enough to change my habits permanently.
Mistake 7: Rushing the finish
Sanding, filling, caulking, and priming feel tedious. They’re also the difference between work that looks amateur and work that looks professional. Most of the polish in finish carpentry happens in the last 20% of the job.
[Internal Link: “Painting and caulking tips that make DIY look professional”]
Expert Tips & Advanced Strategies
These are the things I tell friends when they’re ready to move beyond the basics.
1. Buy quality where it counts. A good tape measure, a reliable square, and sharp blades matter more than a pile of cheap gadgets. Accurate tools make accurate work.
2. Learn to use a pocket-hole jig. It creates strong, hidden joints with minimal fuss. For many shelving and cabinet-style projects, it’s the fastest path to sturdy results.
3. Use scrap for test cuts. Before cutting your good trim, run the same angles on scrap. It costs nothing and catches mistakes early.
4. Mind wood movement. Wood expands across its width as humidity rises. Leave small gaps where appropriate, especially for outdoor projects and wide panels.
5. Plan your cut list. Sketch the project, list every piece with dimensions, and arrange them on standard board lengths to reduce waste. This saves money and trips to the store.
6. Keep blades sharp and clean. Dull blades burn wood and encourage forced, unsafe cuts. Replace or sharpen them before they become a problem.
7. Know your limits on structure and utilities. Never cut into load-bearing walls, gas lines, or electrical systems without proper expertise. Carpentry confidence should never outrun knowledge.
Real Results & Case Studies
(Illustrative composite. Replace with your own project data.)
Imagine a first-time homeowner in an older house. They had no real tool experience and a list of nagging problems: two sticking doors, a missing shelf wall in the pantry, cracked baseboards in the hallway, and a soft spot in the back-porch step.
Over about three months, they worked through this plan:
| Week | Project | Approx. time |
|---|---|---|
| 1 | Buy basic tools, practice cuts on scrap | One afternoon |
| 2 | Fix both sticking doors | 2 hours each |
| 3 | Install pantry shelving | One weekend |
| 5–6 | Replace hallway baseboards | Two weekends |
| 8 | Repair porch step | One weekend |
| 12 | Build a simple workbench | One weekend |
The tool investment was the biggest early cost. But by the end, they had fixed every nagging issue, and the same toolkit then covered several later repairs.
The real result wasn’t just saved contractor fees. It was confidence. The owner stopped dreading small repairs and started catching problems early, which is where the long-term savings live.
Who Should Use This Approach (and Who Shouldn’t)
This is a great fit if you:
- Own an older home that needs steady small repairs
- Enjoy practical, hands-on work
- Want to build skills gradually rather than hire out every job
- Have a place to work and store tools
Think twice, or call a pro, if:
- The job involves load-bearing walls, structural framing, or foundations
- Electrical, gas, or plumbing work is part of the project
- Your local code requires permits and inspections you aren’t prepared to handle
- You have physical limitations that make ladders, heavy lifting, or power tools unsafe
- The home may contain lead paint or asbestos materials that you’d disturb
I’m not a licensed contractor or building inspector, and codes vary widely by location. Treat this guide as a starting point and confirm local requirements before major work.
Conclusion
After years of fixing, building, and messing up, my view is simple. The essential carpentry projects every homeowner should know are not the flashy ones. They’re the humble skills: measuring right, cutting clean, hanging a door, setting trim, repairing rot, and building something sturdy from raw lumber.
Start small. Practice on scrap. Add one project at a time, and let each one teach you something for the next. Within a season or two, you’ll look at your house differently, as a place you can maintain and improve with your own hands.
Here’s your challenge: pick one nagging problem in your home this week, whether it’s a sticking door, a loose rail, or a cracked piece of trim. Fix it using the steps above. Then tell me in the comments what you tackled and how it went.
4. Comparison Table
Time and cost figures are rough, typical ranges for a beginner. Costs vary by region and materials.
| Project | Skill Level | Typical Time | Key Tools | Approx. Cost | Best For |
|---|---|---|---|---|---|
| Fix a sticking door | Beginner | 1–2 hours | Screwdriver, plane or sandpaper | Very low | First repair, instant payoff |
| Install shelves | Beginner | 1–3 hours | Drill, level, stud finder | Low | Learning anchors and leveling |
| Baseboard and trim install | Beginner–Intermediate | One to two weekends | Miter saw, nailer or hammer, coping saw | Low to moderate | Biggest visual upgrade for the money |
| Rot repair (small area) | Intermediate | Half a day | Chisel, epoxy filler, sander | Low | Preventing water damage |
| Deck board and railing repair | Intermediate | One weekend | Drill, circular saw, level | Moderate | Safety and outdoor upkeep |
| Workbench build | Beginner–Intermediate | One weekend | Saw, drill, square | Moderate | Building skills and a work surface |
| Raised garden bed | Beginner | 2–4 hours | Saw, drill, level | Low to moderate | Outdoor, forgiving first build |
| Closet organizer / built-ins | Intermediate | One to two weekends | Saw, drill, level, sander | Moderate | Functional storage and polish |
5. FAQ Section
1. What carpentry skills should every homeowner know?
Start with accurate measuring, clean straight cuts, and driving fasteners properly. From there, learn to hang and adjust a door, install shelves into studs, set basic trim, and repair small areas of rot. Those few skills cover most household jobs. In my experience, measuring and marking matter more than any fancy technique, because every other step depends on them. Add safe tool handling and you’re well set. Leave structural, gas, and electrical work to licensed professionals.
2. What are the easiest carpentry projects for beginners?
Fixing a sticking door, hanging a shelf, and building a raised garden bed are all forgiving first projects. They teach measuring, leveling, and fastening without demanding precision joinery. A simple workbench is another great choice because small mistakes don’t hurt its function. I’d start with the door, since the payoff is immediate and the risk is tiny. Practice on scrap lumber first, and save expensive materials until your cuts are consistently square.
3. What basic tools do I need for home carpentry?
A solid starter kit includes a tape measure, speed square, level, pencil, hammer, drill/driver with bits, handsaw, and a circular saw if you plan larger cuts. Add safety glasses, hearing protection, and a dust mask. A stud finder and a set of clamps make a huge difference too. Honestly, I’d buy fewer, better tools rather than a big cheap set. Accurate measuring tools matter more than power tools early on.
4. How do I fix a door that sticks?
First, tighten the hinge screws, since loose hinges are a common cause. If a screw spins in its hole, pack it with wooden toothpicks and glue, then redrive it. Next, find where the door rubs and lightly sand or plane that edge. Seal any bare wood with primer and paint so humidity doesn’t swell it again. If the door only sticks in damp weather, sealing the edges often fixes it permanently without removing much material.
5. Is it cheaper to do carpentry yourself?
Usually yes for small and medium jobs, once you own the basic tools. You pay for materials and your own time instead of labor and minimum service charges. The savings grow because the same tools cover many projects. That said, mistakes can erase savings, and some work, such as structural repairs, isn’t worth the risk. My rule is to DIY anything cosmetic or low-risk and hire out anything that affects structure or safety.
6. How do I know if wood is rotted?
Press a screwdriver or awl into the wood. Solid wood resists, while rotted wood feels soft, spongy, or crumbles. Look for discoloration, cracking, mushroom-like growth, or a musty smell. Check areas that stay wet, such as window sills, door bottoms, and deck ends. I always probe a few inches beyond the visible damage, because rot often extends further than it appears. If it reaches structural framing, call a professional.
7. Can I use regular screws for outdoor projects?
It’s better not to. Treated lumber can corrode ordinary steel fasteners, and weather accelerates rust. Use fasteners rated for exterior and treated-wood use, such as coated or stainless options, as the lumber and fastener manufacturers recommend. This matters most for decks, railings, and raised beds, where failures can be unsafe. I’ve seen rusted screws snap in old decks, and replacing them properly costs far less than repairing the damage afterward.
8. How do I hang a shelf so it doesn’t fall?
Anchor into wall studs whenever possible, because drywall alone can’t carry heavy loads. Use a stud finder to locate them, pre-drill pilot holes, and use screws suited to the bracket and load. If you can’t hit studs, use heavy-duty wall anchors rated well above your expected weight. Check that the shelf is level, then load-test before filling it. I always overbuild shelves slightly, since books and storage bins weigh more than people expect.
9. When should I hire a carpenter instead of DIY?
Hire a professional for structural changes, load-bearing walls, major framing, or anything involving permits you’re unfamiliar with. Also call one if the damage is extensive or the job needs specialized tools and experience, such as custom cabinetry or stair building. Safety is the deciding factor: if a mistake could cause collapse, injury, or code violations, I’d pay for expertise. For cosmetic or small repairs, DIY is generally a sensible way to save money and learn.
10. How long does it take to learn basic carpentry?
You can learn the basics, like measuring, cutting, and fastening, in a few weekends of practice. Competence at trim, doors, and simple builds usually takes a few months of occasional projects. Mastery takes years, but you don’t need mastery for household repairs. My advice is to practice on scrap, take on one project at a time, and expect early mistakes. Every ruined board teaches something, and skills compound quickly once the fundamentals click.